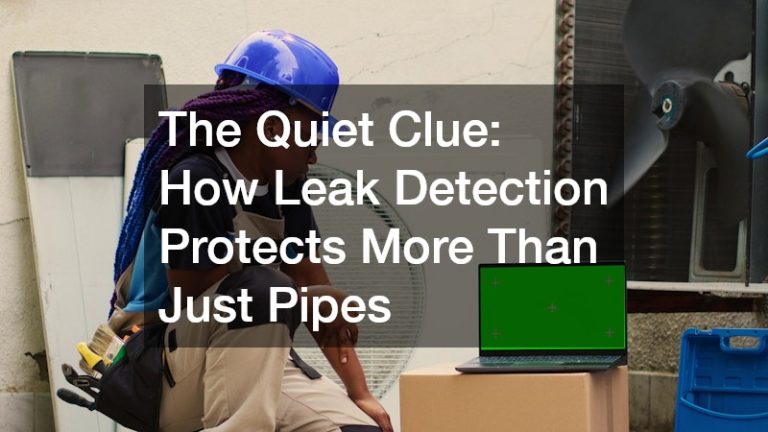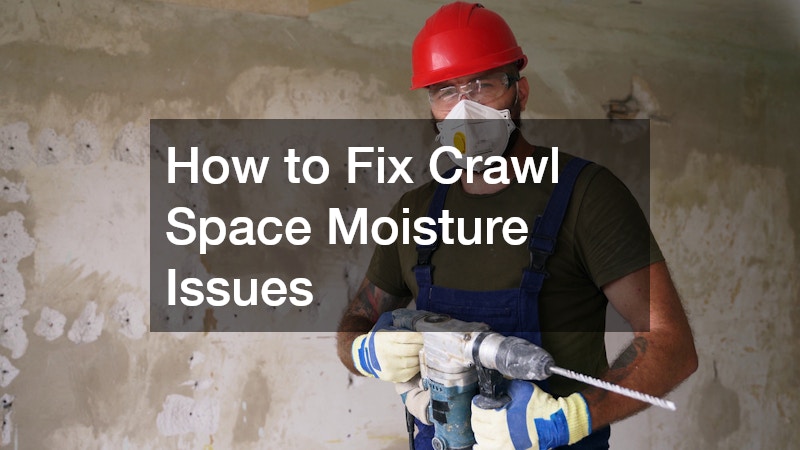
Your home’s crawl space plays a vital role in the overall health of your property. While it’s often out of sight, a moist or damp crawl space can lead to serious problems, including mold growth, wood rot, and even structural damage to the foundation. If you’re noticing musty odors, uneven floors, or a high humidity level in your home, the source may be your crawl space. Thankfully, moisture issues in a crawl space are treatable, and addressing them early can save you from expensive crawl space repair down the line.
Why Moisture Is a Problem in Crawl Spaces
Before diving into the solutions, it’s important to understand why moisture can accumulate in crawl spaces. Crawl spaces are typically the most vulnerable area of your home to moisture for several reasons.
Poor ventilation is one of the primary causes. If the crawl space lacks proper airflow, moisture from the ground or the surrounding environment can’t escape, leading to high humidity levels. Water seepage is another issue. Rainwater, melting snow, or groundwater can seep into the crawl space through cracks in the foundation or improper drainage. Condensation is also a common problem. Warm, humid air entering the crawl space can condense on cooler surfaces like pipes and beams, creating a damp environment. Leaky plumbing can also contribute to the issue. If you have pipes or plumbing running through the crawl space, leaks can add to the moisture problem.
Step 1: Inspect Your Crawl Space
The first step in fixing moisture problems is a thorough inspection of your crawl space. Before jumping into crawl space repair, look for visible puddles or standing water, as this indicates serious water intrusion that needs immediate attention. Wet or damp insulation is another sign of moisture issues. If the insulation in your crawl space feels damp, it’s an indication that moisture is affecting the space. A musty smell can be a sign of mold or mildew growth. Condensation on pipes or beams can indicate high humidity levels. If you notice any wood rot in the crawl space, such as soft or spongy wood, it’s a clear sign of water damage.
Step 2: Address Water Seepage
If you notice water entering your crawl space, it’s crucial to address the root cause of the seepage. Small cracks in the walls or floor of your crawl space can allow water to seep in. To fix this, clean the crack, apply a concrete patch, and seal it with a waterproofing sealant. Improper grading around your home can also lead to water seepage. The ground should slope away from the foundation to ensure that rainwater drains properly. If your yard is graded poorly, you may need to regrade the soil to direct water away from the foundation.
Step 3: Improve Ventilation
Adequate ventilation is essential in keeping your crawl space dry. Poor ventilation leads to stagnant, humid air that can promote mold and mildew growth. Installing a vent fan in your crawl space can help improve airflow and reduce humidity levels. Make sure to choose a fan designed specifically for crawl spaces to ensure efficient operation. Foundation vents should also be checked to ensure they are open and free of debris. These vents allow air to circulate and prevent moisture buildup.
Step 4: Install a Vapor Barrier
One of the most effective ways to combat moisture in your crawl space is by installing a vapor barrier. This plastic sheeting is laid over the dirt floor of your crawl space and acts as a barrier between the ground and the air in the crawl space, preventing moisture from seeping up into the space. A high-quality vapor barrier should be made from polyethylene plastic, at least six mil thick, and should extend up the walls of the crawl space. The barrier should be secured tightly and sealed with tape or adhesive to prevent any gaps where moisture could enter.
Step 5: Insulate Your Crawl Space
In addition to a vapor barrier, adding insulation to your crawl space can help control moisture. Insulation helps regulate the temperature and humidity in the space, making it less conducive to mold growth. Fiberglass batt insulation is a common and affordable option for insulating crawl spaces, though it can absorb moisture and lose its effectiveness over time. Spray foam insulation provides superior moisture control and is often used in areas with high humidity. It expands upon application, filling gaps and creating a tight seal.
Step 6: Repair Plumbing Leaks
If you have plumbing running through your crawl space, leaky pipes can contribute to moisture problems. Inspect all visible pipes for signs of leaks or water damage. If you find any issues, repair or replace the damaged pipes promptly. Even small leaks can lead to significant moisture buildup, so it’s important to stay on top of plumbing maintenance.
Step 7: Encapsulate Your Crawl Space
If moisture problems persist despite your efforts to fix them, encapsulating the crawl space may be your best option. Crawl space encapsulation involves completely sealing the space, including the installation of a heavy-duty vapor barrier, insulation, and dehumidification systems. Encapsulating your crawl space creates a controlled environment that prevents moisture from entering, improves air quality, and can even make your home more energy-efficient.
Step 8: Use a Dehumidifier
A dehumidifier can help keep the humidity levels in your crawl space under control, especially if you live in an area with frequent rainfall or high humidity. The dehumidifier will remove excess moisture from the air, helping to prevent mold growth and wood rot. There are dehumidifiers specifically designed for crawl spaces. These units can be placed in the space to remove moisture continuously. Just be sure to maintain the dehumidifier regularly and empty the water collection tank as needed.
Moisture issues in your crawl space can lead to costly damage and a decrease in your home’s overall health. By following these steps, you can effectively address moisture problems and protect your home from mold, wood rot, and other related issues. Whether you’re tackling water seepage, installing a vapor barrier, improving ventilation, or encapsulating the crawl space, taking action now will help ensure your crawl space remains dry, healthy, and free from moisture damage.